Quick easy sketchbooks
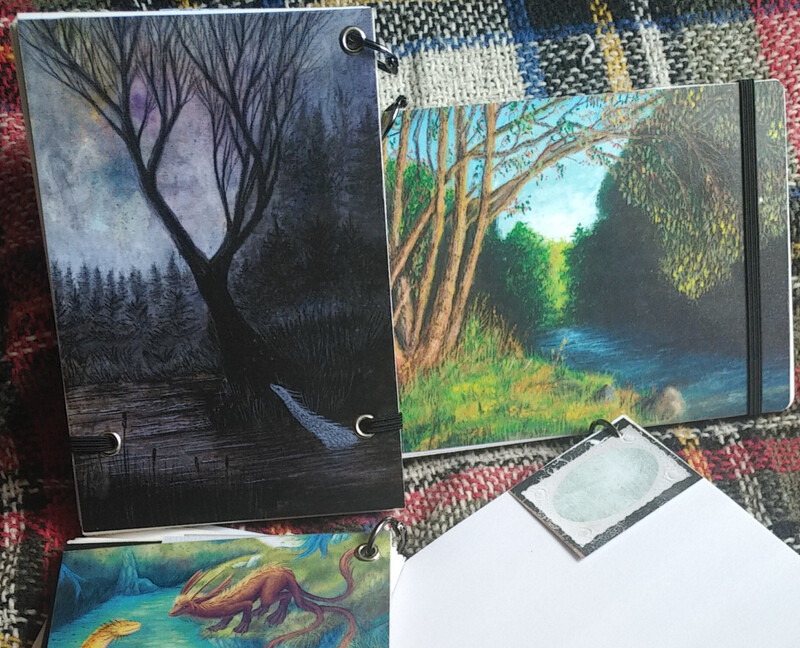
After making my first experimental prototype, I made several little sketchbooks for my friends and also notebooks for myself. If you want little notebooks to keep notes, it is easy to quickly put together a bunch of papers between two cartons on a ring. When the format is the same, you can later divide your notes into more notebooks by specific topic, or merge old things into archival one. And you can store them hanging by the ring.
When you want it nicer, the difficulty is making the covers nice and adding a mechanism to make it stay closed. The front cover is made easily with a laminated printed picture.
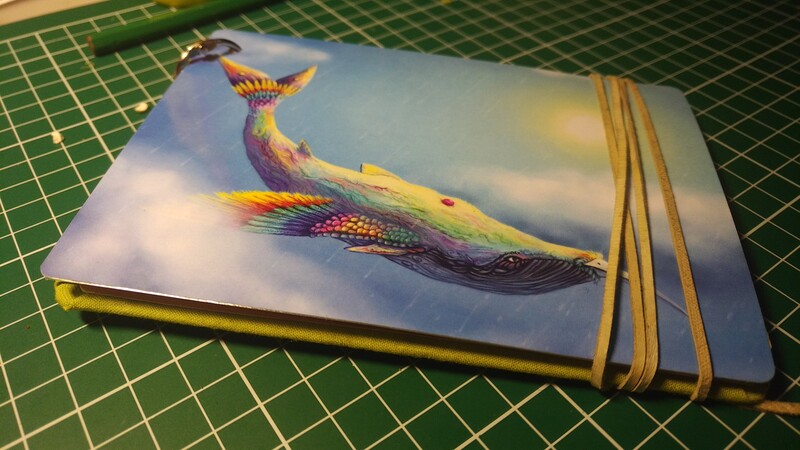
On my second attempt, I still tried to make the back cover wrapped in fabric with a dug in cord to make the notebook stay closed.
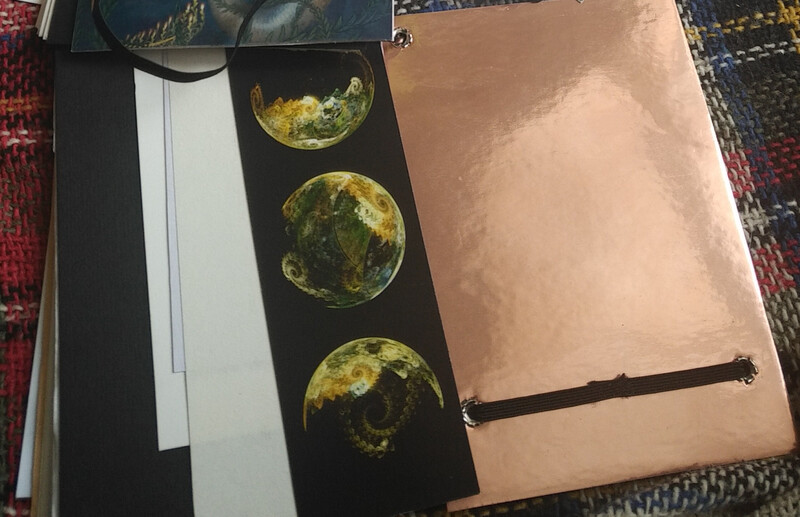
Later I made the back cover from a printed picture glued to a thicker paper and the whole thing was laminated. This worked and looked good, but some of them started to fall apart. So later I simply painted the back cover in acrylics.
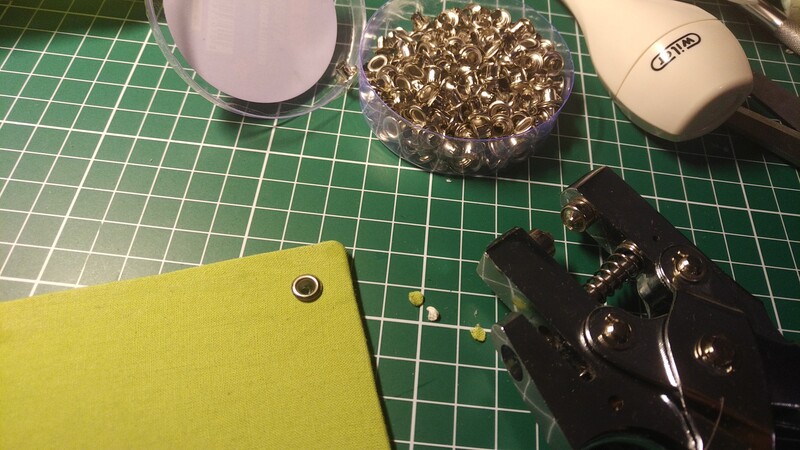
I also equipped the sketchbooks with an elastic band, which was passing through two holes in the back cover (with metal eyelets, same as the hole for the ring), and was sawn together in the back.
Some pictures from the process
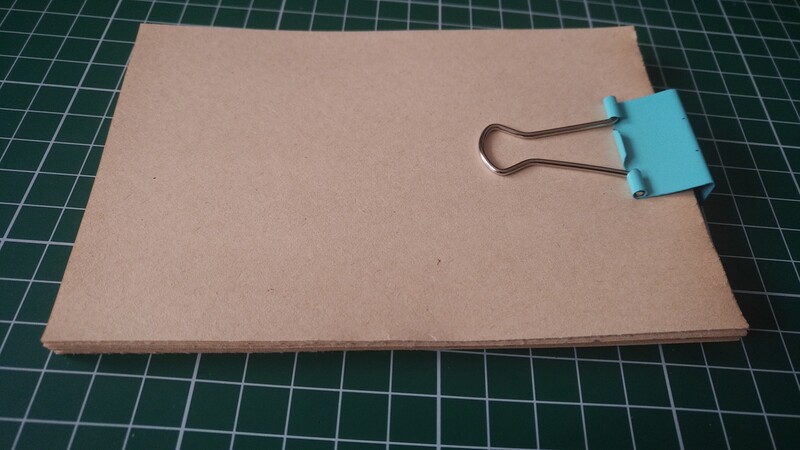
Cutting the carton for the cover.
Papers are ready.
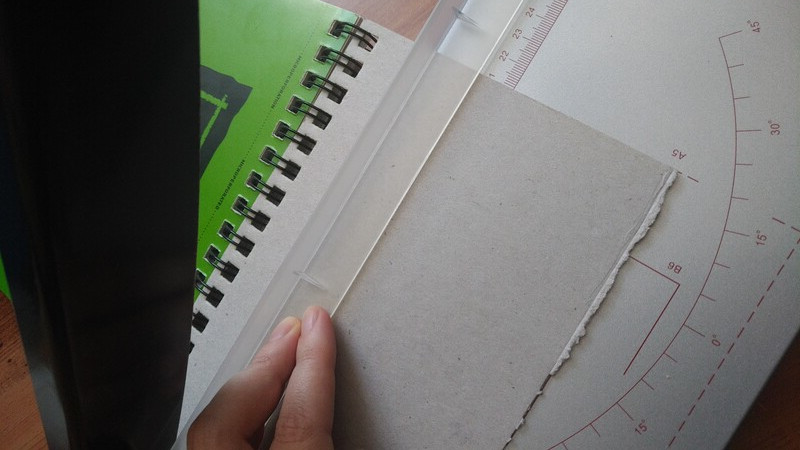
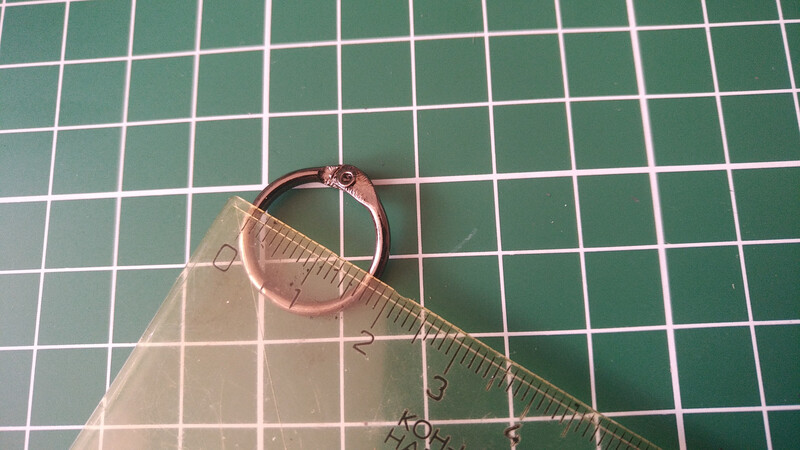
Measuring the ring, so I know where to make the holes. This is my smallest ring and it is useful only for the tiniest notebooks.
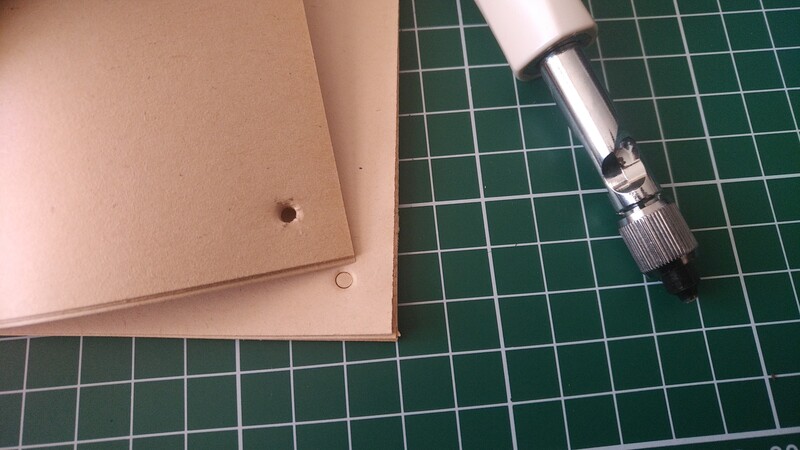
Making the holes using screw hole punch tools. It goes well through many papers at once. You can remove the papers with holes and continue on the visible mark.
Rounding corners with a military grade corner rounder.

The hinge does not need to go through the hole.
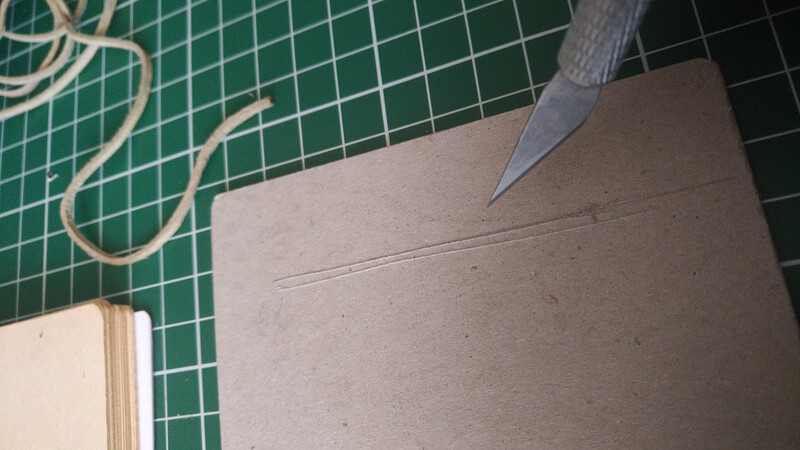
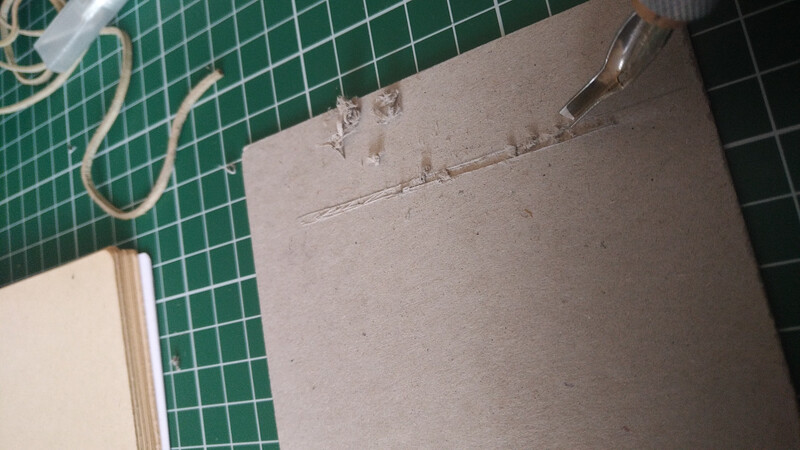
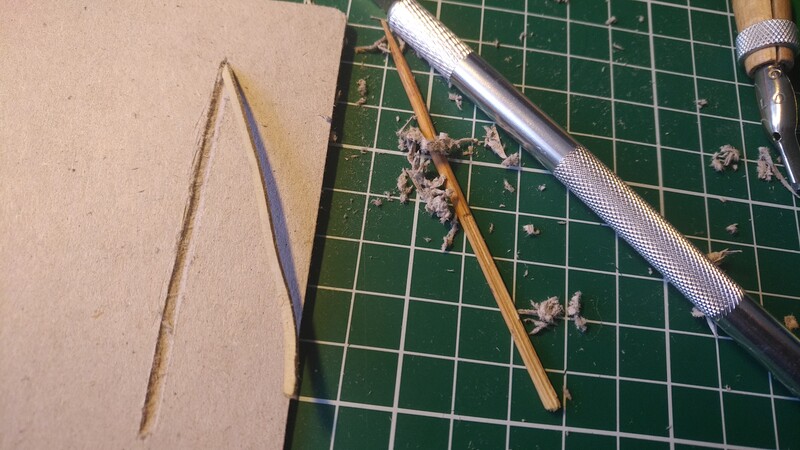
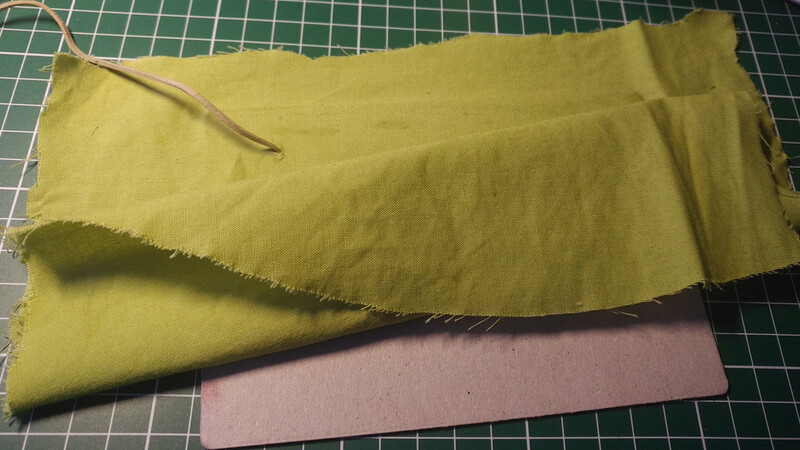
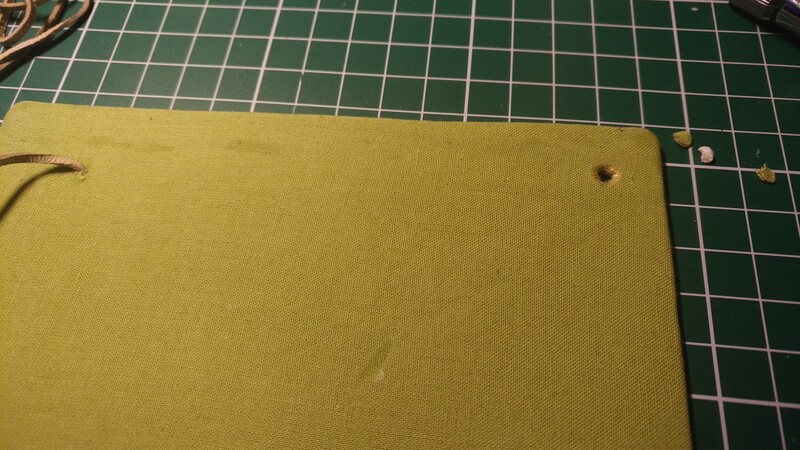
The back cover
Making a space for the leather cord using a craft knife. I started by cutting the outline and then excavating the middle with an engraving tool. There is also a hole at the end to pull the cord through the cover.
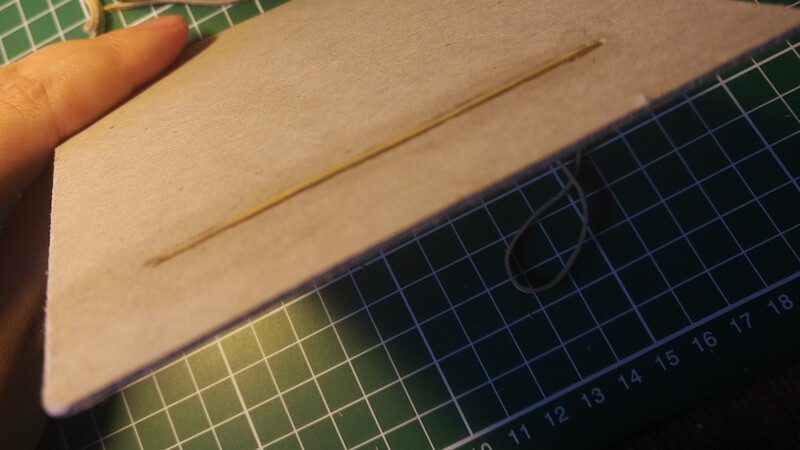
Gluing the cord in.
Now I glue the fabric on the outer side first. Step by step I spread the glue and stretch the fabric. There are some stains because the fabric is very thin any little excess glue will make a stain. When the whole side is finished, I let it settle under some weights.
On the inside I glue the corners first like this:
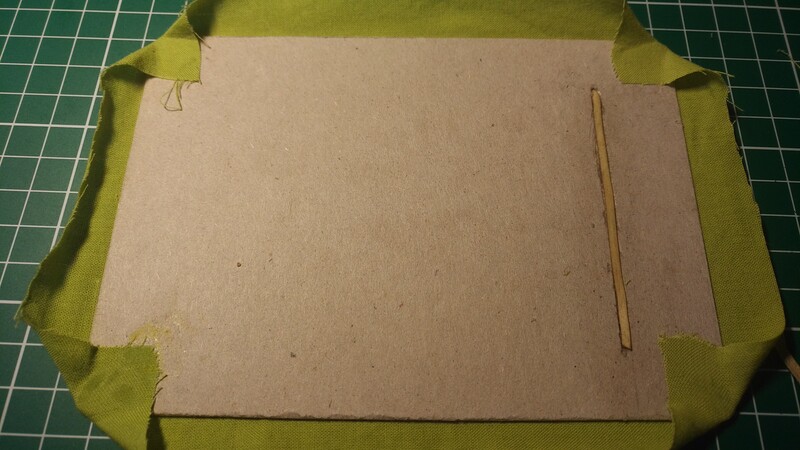
And afterward I glue the sides over them.
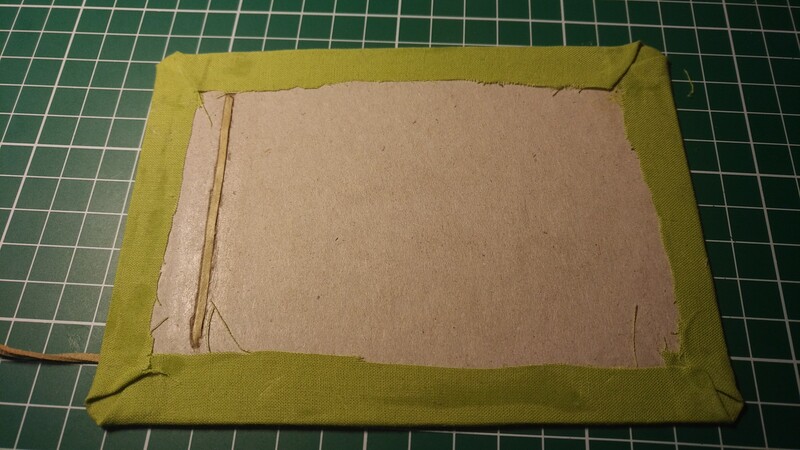
Then I cover it all by gluing pretty paper over it all.
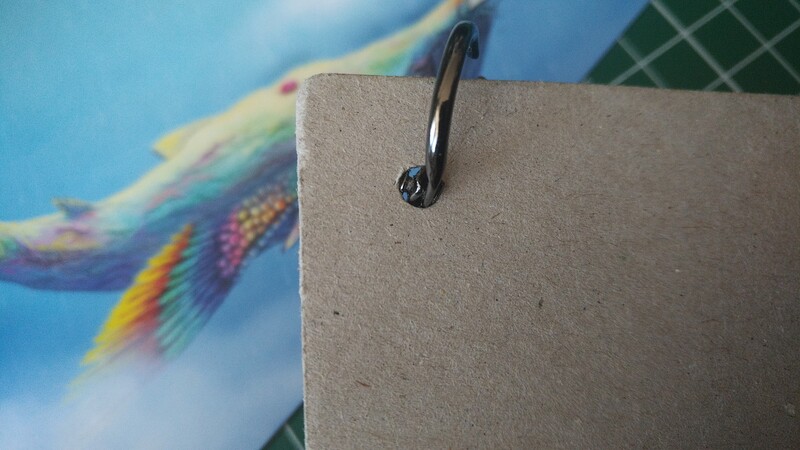
Time to punch a hole in the back cover and insert an eyelet.
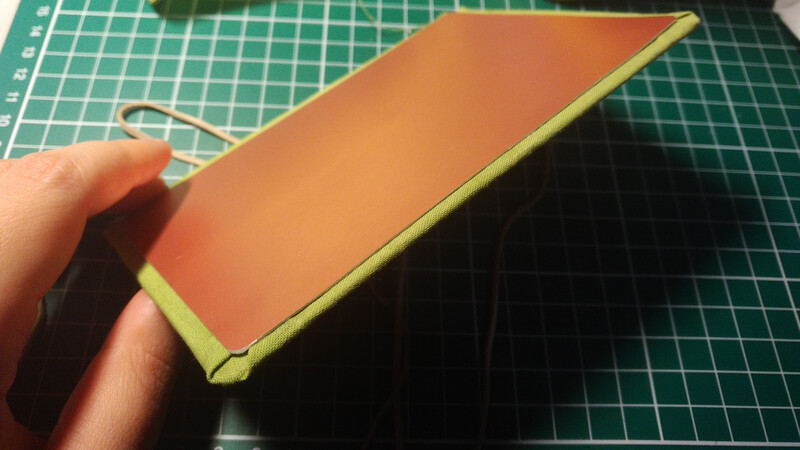
And this is it!