Linocut stamps
Materials
For the stamp:
- linoleum
- linocut tools (small v-shape and small u-shape)
- pencil
- something to ink the stamp with (ink pad ideally, marker …)
For the holder:
- carboard
- glue
- paper
- scissors
- fixative and varnish (optional)
Making the stamp
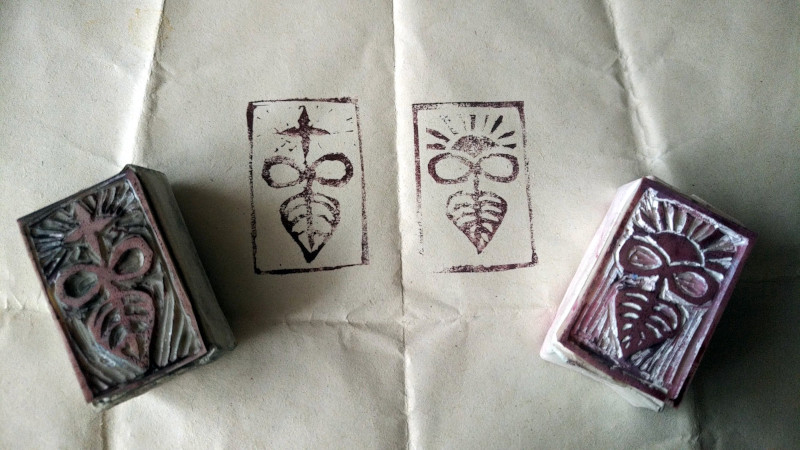
This was my first linocut attempt, so I wanted to try something small first. I made three stamps, the pictures here are of the making of the third.
First, I drew the design on the lino with a pencil, I also suggested guidelines for the direction of the cuts. It is important because they are sometimes slightly visible in the print. My first attempt looked terrible since I cut into the lino haphazardly, but it was good to gain some experience of how it feels, what pressure to use, how precise I can be, etc. On my second attempt, I made most of the cuts vertical. Here I will try to follow the form of the design.
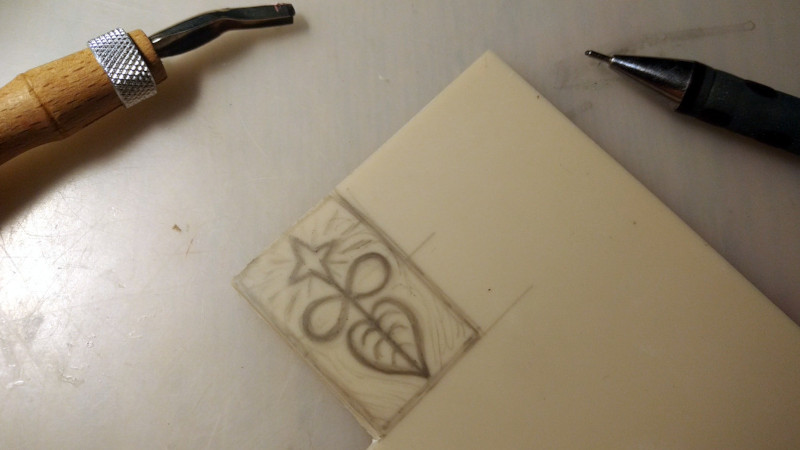
First, I used the small v-shaped tool. I outlined the design and the border with deep cuts. This is because I am using a very soft lino that doesn’t snap at the end of the cut but instead is rubbery. With harder lino this might not be necessary, I don’t know.
Then I change to the u-shaped tool and try to fill the larger areas with continuous strokes along the guidelines. Lastly, I take again the v-shaped tool and clean the details. It is helpful to stain the lino with ink to see more clearly what still needs to be cut off.
When I am satisfied, I cut my piece from the rest of the lino.
Making the holder
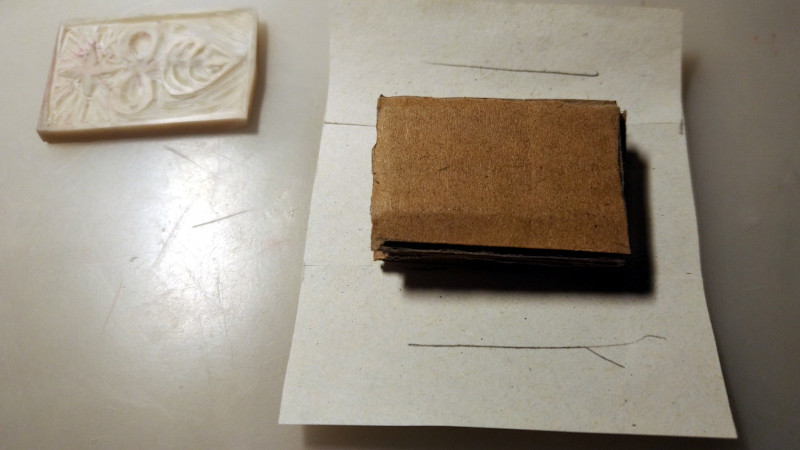
Since these are just first attempts, I wanted to make the holder quickly and cheaply. I took a piece of cardboard from a discarded box and traced the outline of the stamp on it thrice. You can do more if you want the holder taller. Then I cut the three pieces and glued them together.

When the glue was dry, I marked the dimensions of the resulting object on a piece of paper. I will wrap this paper around the cardboard so it looks a little pretty. First, I wrap it around without any glue, to prepare the folds, cut it where needed, so I have an easier time gluing it. Now I also should have made a print of the stamp on what will be tom side of the holder, while I could place it on a hard surface.
Then I cover the paper in glue, area by area, and hold it against the sides of the cardboard brick. I started with what will be the top (on the picture it is beneath the carboard brick) and continued always with two opposing sides, so I can comfortably hold it while it dries.
Only when all was wrapped and the glue was dried, I thought of making the mark on the top side of the holder. It is useful not only to recognize which stamp it is when you have more of them, but also to be sure you are using it right side up. But since my cardboard was quite soft and irregular, the mark did not turn quite well.
But it didn’t matter in the end! Because I inked the stamp with water-resistant marker, I thought I could varnish it right away, without fixing it first. But no, I smudged the whole mark. I ended up gluing my first attempt on this side, making a doubleheaded stamp.
I wanted the holder to be varnished so it can withstand a little bit of wetness when I clean the stamps. Also, it feels more solid to the touch. I am using a common spray fixative for graphite and pastel drawings and an acrylic varnish which I spread with a cheap flat soft brush. One layer doesn’t offer much protection, two or three are better.
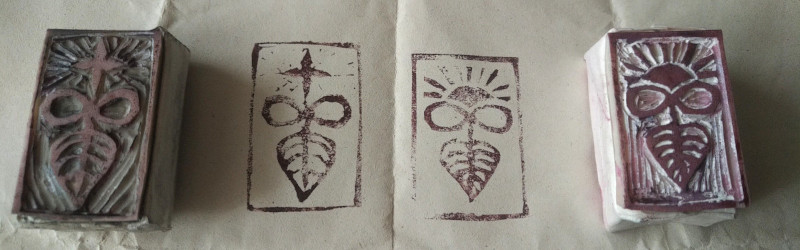
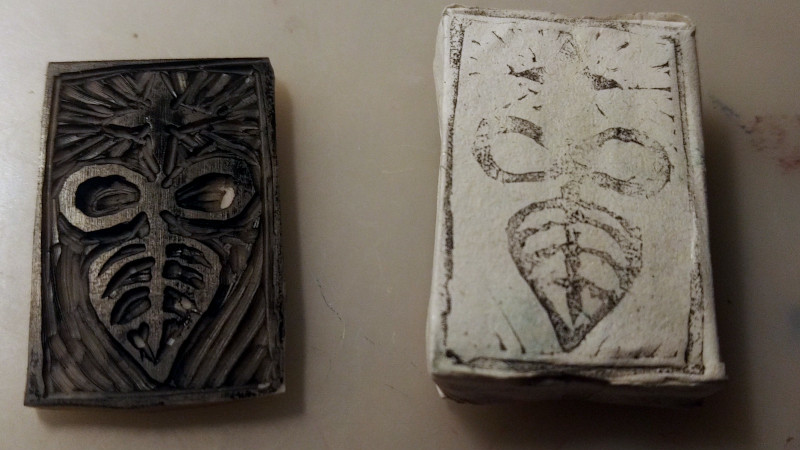
And these are the stamps, I was a little disappointed by how crude they are, how unable I was to make the details as clean as I wanted. They work best with an ink pad of course, but can be inked with a waterbased marker or a brushpen too (but it is rough on the nib/brush). I didn’t have much luck with watercolor, gouache, and fountain pen ink.
For such a relativily quick and easy thing to make, they are surprisingly usable, and I encourage other people to give it a try.